Office 365 Instructions
Download and install or reinstall the latest Office 365
- Sign in with your school account at http://portal.office.com/OLS/MySoftware.aspx.

- Select a Language, and accept the default to install 64-bit or choose 32-bit from the drop-down list.
- Select Install.
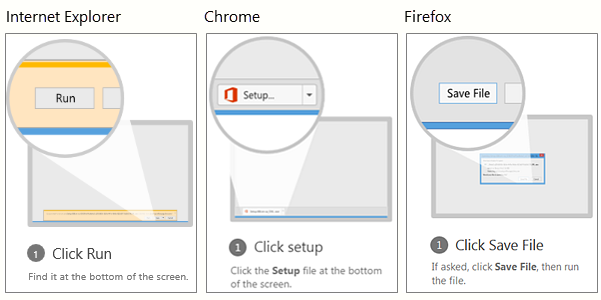
- Depending on your browser, go to the install pop-up that appears and click Run (in
Internet Explorer) Setup (in Chrome), or Save File (in Firefox). NOTE: If you’re using
Edge, first click Save, and then click Run.Browser options: in Internet Explorer click
Run, in Chrome click Setup, in Firefox click Save FileIf you see the User Account
Control prompt that says, Do you want to allow this app to make changes to your device?
Click Yes.
- The install begins.
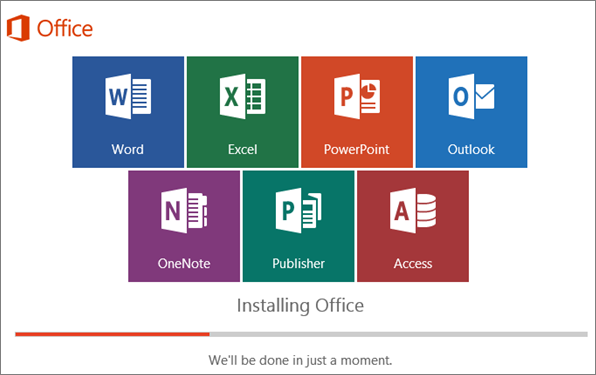
- Window showing progression of Office install
Your install of Office is finished when you see the phrase, You’re all set! Office is installed now and an animation plays to show you where to find Office applications on your computer. Follow the instructions in the window, for example Click Start > All Apps to see where your apps are, and select Close.Office is installed now. Select Close.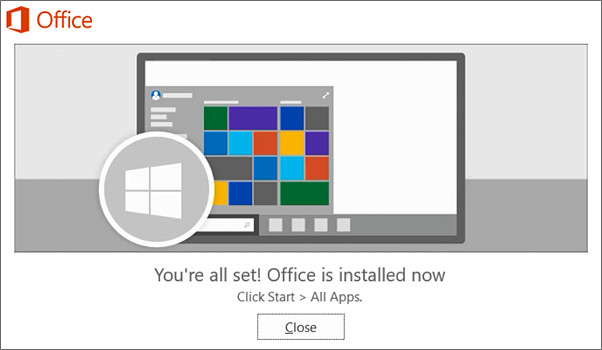
- Start using an Office application right away by opening any app such as Word or Excel.
In most cases, Office is activated once you start an application and after you agree
to the License terms by clicking Accept.
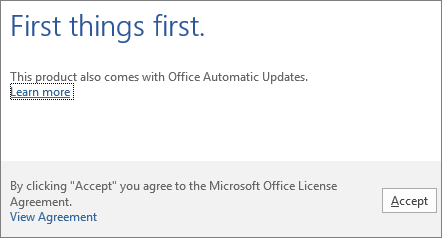


Accept the License Agreement terms by clicking Accept
For more information please visit the Microsoft website